
Tropical Scene
If you’re looking to add a splash of color and creativity to your day, I’ve got just the thing for you. We’ll be creating this tropical scene together, with free Procreate brushes of course!
By the end of this tutorial, you’ll have not only a charming landscape but also a richer understanding of Procreate’s tools. So, grab your iPad, get comfortable, and let’s create something beautiful together! And don’t forget, if you’re proud of your artwork, share it on Instagram and tag me – I’d love to see your interpretation of this landscape. Happy creating!
Brushes used:
- Soft Brush
- Monoline Brush
- Sword Grass Brush
- Oceans Brush
- Script Brush
- Flamingo Brush
- Palm Tree Brush
Canvas Size:
- 2300 x 3000 pixels
Skills Learned:
- Alpha Lock: Learn how to utilize alpha lock for color filling
- Layer Masks: A great tool for non-destructive editing, allowing you to hide and reveal parts of your layer without permanently altering it
- Using Adjustments: Experiment with adjustments like Gaussian Blur, Motion Blur, and Glitch to add depth and texture to your landscape
- Layer Blending Modes: Discover how to use Multiply and Add blending modes to create shadows and light effects on water
- Creating Silhouettes: With the Flamingo and Palm Tree brushes, you’ll learn to create and manipulate silhouette shapes effectively
Landscape in a Sphere
During this Procreate tutorial we’ll create this lovely looking landscape inside a sphere. I’ll take you through all the steps, so no worries! I’m looking forward to seeing your results.
Brushes used:
- Monoline Brush
- Soft Brush
- Script Brush
- Pine Tree Broad Brush
Canvas Size:
- 3500 x 3500 pixels
Skills Learned:
- Creating and Centering Shapes: You’ll learn to make perfect circles using the Quick Shape tool and center them on the canvas with the Snapping feature
- Working with Layers and Clipping Masks: Use layers and clipping masks to neatly contain the landscape within the sphere
- Applying Lighting and Shadows: The tutorial shows how to effectively use different layer blending modes like Multiply and Hard Light to create realistic lighting and shadow effects
- Creating a 3D Effect: You’ll learn to make the sphere and the landscape within it look three-dimensional, with tips on adding gradients, reflections, and light sources
Pen and Ink Lotus
Let’s have fun with pen and ink and create this lotus flower. By the end of this tutorial, you’ll have a beautiful, realistic flower and a new set of skills to apply to your future Procreate projects. Remember, practice makes perfect, so keep experimenting and have fun with your artistic journey!
Brushes used:
- 6B Pencil
- Fineliner Brush
- Round Watery Brush
Canvas Size:
- 3500 x 3500 pixels
Skills Learned:
- Guided Sketching: Starting with simple ovals as guides, you’ll learn to sketch the flower, understanding the structure and placement of petals
- Line Art Creation: Transitioning from sketch to line art using the Fineliner Brush
- Adding Texture and Hatching: You’ll add texture and depth to your flower with hatching techniques, focusing on light and shadow
- Watercolor Effects: Utilize the Round Watery Brush to apply watercolor effects, creating a delicate and realistic look
- Layer Blending and Paper Texture: Learn how to blend layers effectively and add a paper texture for an authentic finish
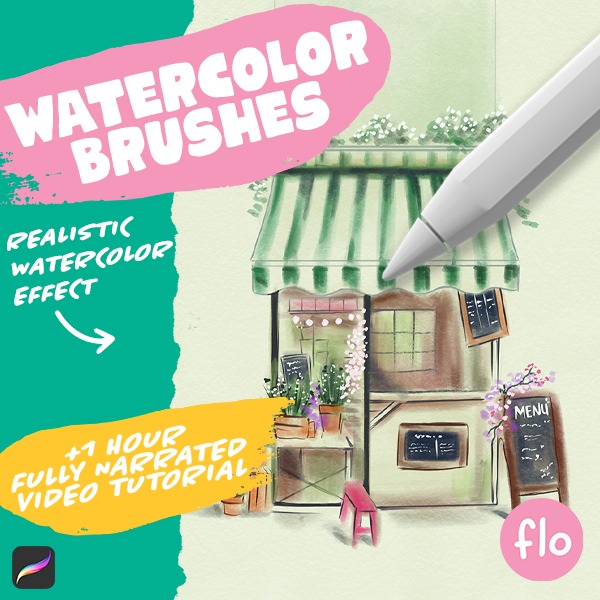
Get the full set!
Want even more watercolor fun? Check out the full brush pack! It contains handmade watercolor brushes and comes with an exclusive video tutorial.

Ice Cream Shop
Ready to create a charming little ice cream shop in Procreate? This tutorial is perfect for both beginners and seasoned Procreate users. You’ll discover how to utilize Procreate’s fundamental tools like the Selection, Move and Transform, Symmetry tools, Alpha Lock, and Layer Masks. By the end of this fun tutorial, not only will you have a cute ice cream shop illustration but also a boost in your Procreate skills and confidence.
Brushes used:
- Monoline Brush
- Soft Brush
- Spackle it Brush
- Fineliner Brush
- Script Brush
Canvas Size:
- 2300 x 3000 pixels
Skills Learned:
- Creating Basic Shapes: Learn to make various shapes like rectangles and circles using the Selection tool and filling them with color
- Using Symmetry: Utilize the Symmetry tool for even and mirrored designs
- Layer Management: Gain proficiency in creating new layers, using Alpha Lock for non-destructive editing, and using Clipping Masks for detailed work
- Shading and Texturing: Enhance your artwork with shadows, highlights, and textures using different brushes and blending modes
Stylized Beach
In this Procreate tutorial we’re going to create a breathtaking Sunset Beach illustration. Don’t worry if you’re just starting out or if you’ve never picked up a digital brush before; I’ve got you covered every step of the way. By the end of this tutorial, I promise you’ll look at your creation and feel an immense sense of achievement. And hey, if you feel like sharing your masterpiece on Instagram, make sure to tag me so I can see your amazing work. Perhaps it’ll even get featured in one of my next videos!
Brushes used:
- Monoline Brush
- Script Brush
- Soft Brush
- Studio Pen
- Light Pen
- Flare Brush
Canvas Size:
- 2300 x 3000 pixels
Skills Learned:
- Creating a Gradient Sky and Sun: You learn to utilize Gaussian blur for smooth transitions in the sky and for the sun
- Layering and Color Blending: Through the use of multiple layers and alpha lock, you gain insights into blending colors seamlessly for a natural look.
- Use of Layer Masks and Blending Modes: The tutorial introduces advanced concepts like layer masks and blending modes for creating light effects
Anime Girl
Ready for a fun Procreate project? Let’s draw a charming anime girl together! In this easy-to-follow tutorial, you’ll learn essential skills for digital art. We’ll start with basic shapes and guidelines, then smoothly transition to sketching, line art, and finally, coloring with shadows and highlights.
Brushes used:
- 6B Pencil
- Studio Pen
Canvas Size:
- 3500 x 3500 pixels
Skills Learned:
- Creating Basic Shapes and Guidelines: Learn to use circles and lines to form the basic structure of the character and additional elements
- Symmetry Tool: Use the Symmetry tool for balanced features but turns it off for non-symmetrical elements like surrounding characters
- Refining Sketches: Transition from rough shapes to more defined sketches, adding details to the character and environment
- Line Art Techniques: Gain skills in creating clean, varied line weights for more dynamic artwork
- Flat Coloring and Shading: You’ll learn to use clipping masks and different layers to add flat colors, shadows, and highlights, bringing depth to your artwork
Anime-style Dramatic Sky
For this project we’ll create this stunning cloudscape together. It’s a bit more challenging, but I’m sure you can do it!
This tutorial is packed with valuable tips and techniques, perfect for those who love landscape art. Whether you’re a beginner or an experienced Procreate user, these steps will help you craft stunning cloudscapes. Don’t forget to grab the brushes from freefromflo.com, and share your amazing artwork. Tag me on Instagram for a chance to be featured!
Brushes used:
- Jittery Tapered
- Standard Blender
- Color Booster
- Soft Brush
- Fineliner Brush
- Hartz Brush
- Jagged Brush
- Simple Grass Brush
- Soft Scattery Bush
Canvas Size:
- 2300 x 3000 pixels
Skills Learned:
- Layer Blending and Opacity Control: Discover how to effectively use layer blending modes and adjust layer opacity to create depth and realism in your clouds
- Brush Techniques: Master various brush strokes, including rounded shapes for cloud silhouettes and smaller strokes for finer details
- Smudging and Blending: Learn to smudge and blend colors seamlessly, creating soft transitions and maintaining texture within your clouds
- Detailing and Texturing: Enhance your clouds with details like highlights and shadows, using color variety and texture to bring your artwork to life
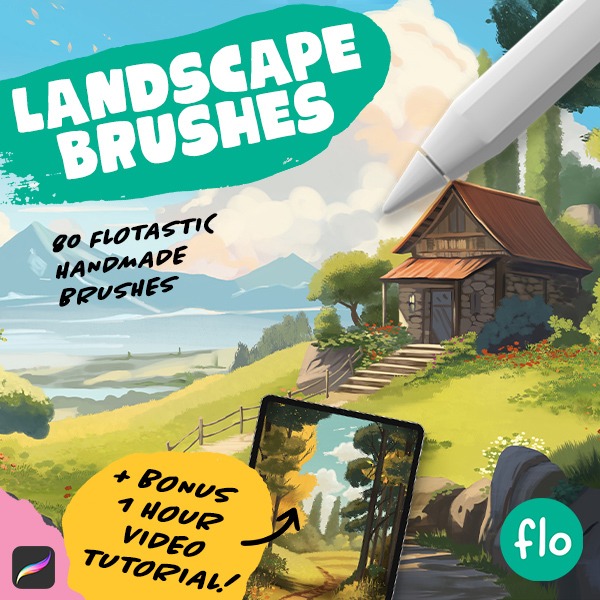
Get the full set!
Want even more landscape fun? Check out the full brush pack! It contains 70 Flotastic Landscape brushes for endless fun.
Stylized Landscape
If you’ve ever wanted to dip your toes into the colorful pool of Procreate but felt a tad overwhelmed, you’ve clicked on the right tutorial. It’s like your cozy, creative blanket, perfect for both Procreate newbies and those of you seeking a calm art escape. I’ll guide you through every step along the way while we create this lovely and colorful landscape. So, buckle up, grab your iPad, and let’s get that creative energy flowing!
Brushes used:
- Soft Brush
- Monoline Brush
- Script Brush
Canvas Size:
- 3500 x 3500 pixels
Skills Learned:
- Alpha Lock and Layer Clipping Mask: These techniques are pivotal for adding intricate details to specific parts of your artwork without affecting other elements
- Layer Blending Modes: The use of blending modes like multiply and screen is illustrated to add depth, texture, and light to the landscape
- Drawing Perfect Shapes: It covers how to draw perfect circles and other shapes
Cartoon Puppy
Ever dreamt of creating your very own cartoon puppy but felt a tad intimidated by the vast world of digital art? Fear not, for I’ve crafted the perfect Procreate tutorial just for you! Whether you’re a complete newbie to drawing or Procreate, or you’re looking to add a dash of cuteness to your art repertoire, this tutorial is your go-to guide.
Brushes used:
- Script Brush
- Chalk Pencil
Canvas Size:
- 3500 x 3500 pixels
Skills Learned:
- Sketching: Master the art of sketching by building up the puppy’s form with basic shapes
- Adjusting Sketches: Learn to make significant adjustments to your sketch using Procreate’s selection, move, transform, and liquify tools.
- Line Art and Coloring: Develop line art using the script brush under the calligraphy brushes, focusing on varied line weights for a dynamic look
- Adding Shadows and Highlights: Utilize layer blending modes like multiply for shadows and screen for highlights to add dimension to your character