Mastering Light and Shadow in Procreate: A Beginner’s Guide
Drawing in Procreate offers numerous possibilities, one of which is the ability to create stunning effects with light and shadow. Light and shadow give your artwork depth, dimension, and a sense of realism. This guide will take you through the basics of using light and shadow in Procreate.
Understanding Light
The first step in mastering light and shadow is understanding light itself. Light in your artwork is what illuminates your subjects and sets the overall tone. The quality of the light (soft or harsh, warm or cool) can dramatically impact the mood of your piece.
For instance, a strong, direct light source can create bold, intense shadows and a dramatic effect, while a softer, diffused light source can create gentler shadows and a more serene effect.
Understanding Shadow
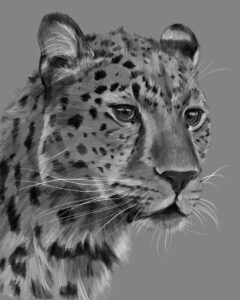
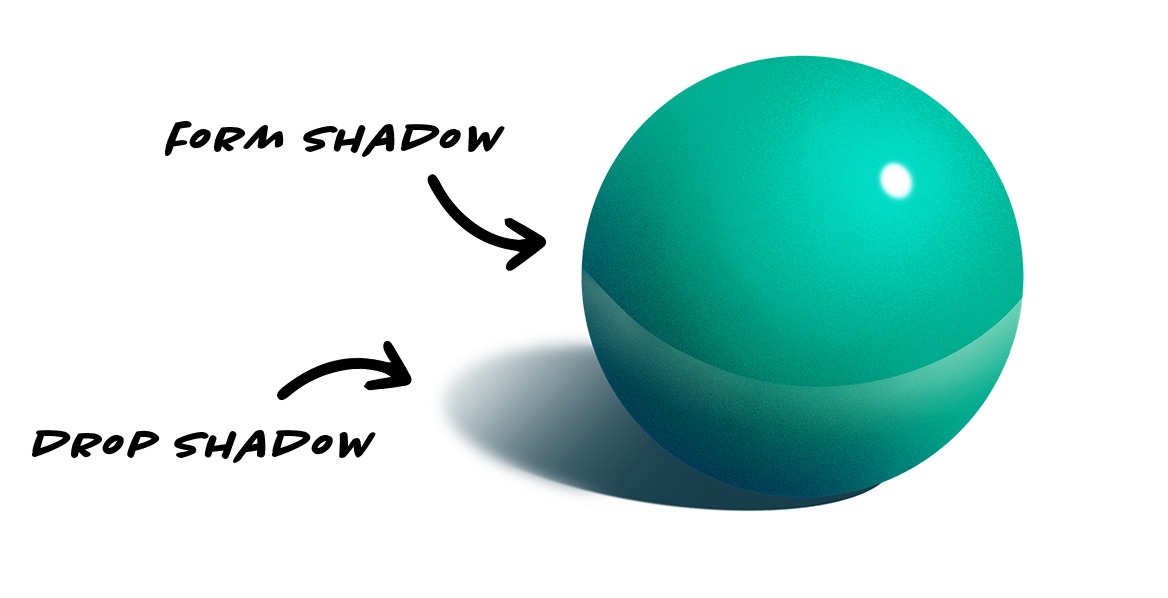
Just as light illuminates, shadows define. Shadows in your artwork provide the contrast needed to highlight form and depth. There are two types of shadows you’ll work with: cast shadows and form shadows.
- Cast shadows are the dark areas that occur when an object blocks light.
- Form shadows, on the other hand, are the shadows that exist on the object itself, showing its three-dimensionality.
Understanding these two types of shadows and how they work together is key to creating realistic depth and volume in your Procreate art.
Using Procreate’s Tools for Light and Shadow
Procreate provides a range of tools that can help you effectively apply light and shadow to your artwork. Here are some to get you started:
- Brushes: Procreate has a variety of brushes that can be used to create light and shadow effects. For instance, the ‘Soft Brush’ under ‘Airbrushing’ is excellent for soft shadows and diffused light.
- Blending Modes: Layer blending modes can be used to create interesting light and shadow effects. For example, the ‘Multiply’ blending mode is great for creating shadows, while the ‘Add’ and ‘Screen’ modes can be used for highlights and light effects.
- Layers: Layers are incredibly useful when working with light and shadow. You can add your light and shadow on separate layers, allowing you to adjust them independently without affecting the rest of your artwork.
Practical Exercises
To master light and shadow, practice is key. Start with simple shapes, like a sphere or a cube, and experiment with different light sources and shadow positions. Try different brush types and blending modes to see how they affect your result. As you become more comfortable, you can progress to more complex forms and compositions.
Tips and Tricks
Here are a few extra tips for working with light and shadow in Procreate:
- Remember that shadows are rarely pure black. They often pick up colors from their surroundings.
- Not all highlights are pure white. They can vary depending on the color and texture of the object and the color of the light.
- Use layers and layer masks when working with light and shadow. They allow for more flexibility and control.
Conclusion
Mastering light and shadow in Procreate can truly take your artwork to the next level. It may seem daunting at first, but with understanding and practice, you’ll soon be adding depth and dimension to your digital art like a pro. So, grab your iPad, open Procreate, and start experimenting with light and shadow today!
