Your First Drawing 2026
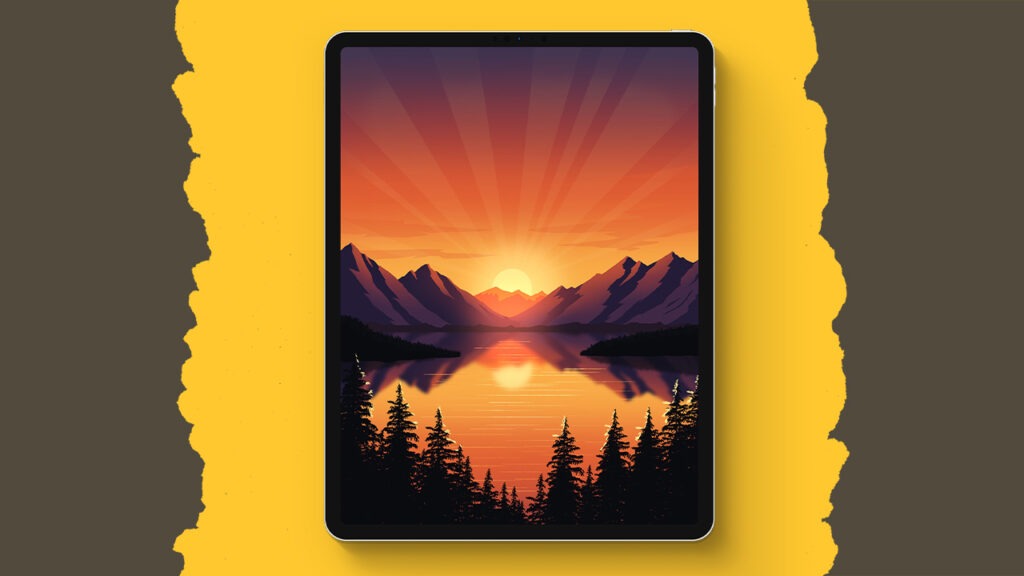
Okay, so if you’ve never opened Procreate before, or maybe you did and then panicked and closed it again, this is the tutorial you’ve been waiting for. We’re starting right at the beginning, like fresh-out-the-box beginning. You’ll set up a custom canvas, get comfy with layers, learn all those magical tools (like alpha lock, clipping masks, and selection tricks), and in the process? You’ll create a stunning, misty landscape that’s so pretty you’ll want to frame it. It’s super beginner-friendly, totally pressure-free, and yes, you’ll absolutely feel proud when you’re done. Let’s make something beautiful together!
Brushes used:
- Ringaroona
- Forester
- Jagger
- Rainforest
- Winkly
- Lichen
Canvas Size:
- 2300 x 3000 pixels
Skills Learned:
- Alpha Lock + Clipping Masks = Your New Best Friends
These tools let you paint inside the lines (without actually trying). Perfect for gradients, textures, and staying super tidy. - Making Soft, Dreamy Gradients
From skies to hills to water, you’ll learn how to blend colors like a pro using Gaussian Blur and soft brushes (hello, misty vibes). - Using Layers Like a Procreate Pro
You’ll stack, group, rename, and organize layers like a total boss. Plus, some sneaky tips for when your iPad yells at you for using too many. - Selections + Transform = Ultimate Control
Whether it’s drawing a water section or flipping your reflection perfectly, the selection and transform tools help you place everything just right. - Quick Shapes, Drawing Guides + Masks
Make perfect circles, horizontal water lines, and paint with precision using assist, quick shape, and layer masks, all non-destructive and totally magic.