Watercolor Cactus
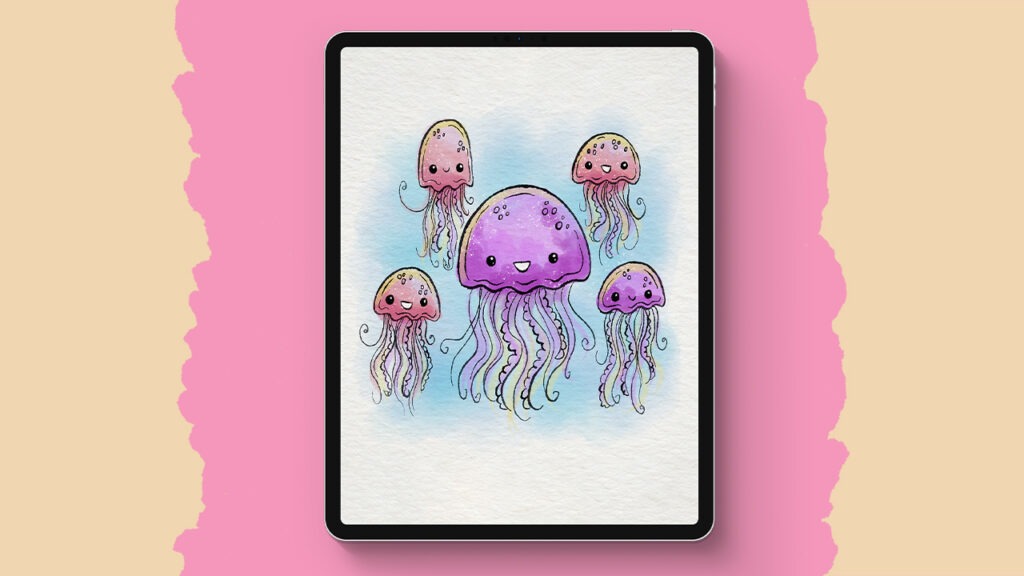
In this tutorial, I’ll show you how you can create a super cute watercolor cactus in Procreate. We’ll go step by step, from sketching a simple pot to adding soft watercolor textures and tiny details that bring everything to life. It’s a fun, relaxed project that’ll help you get comfortable with watercolor painting on your iPad. No pressure, just play!
Brushes used:
- Round Watery Brush
- Fineliner Brush
Canvas Size:
- 2500 x 2500 pixels
Skills Learned:
- Building watercolor texture with pressure and layering
By keeping your pen on the screen, you blend naturally and recharge pigment with every lift, just like real watercolor. - Creating dimensional shapes using color layering
Layering multiple shades of green and red adds depth and realism to both the cactus and the pot. - Using layer masks for subtle highlights
Layer masks allow for non-destructive edits that bring volume and realistic lighting to your piece. - Detailing with fine lines and brush variation
Switching to the fine liner brush introduces fine textures like cactus needles and salt-like specks. - Smudging techniques for watercolor blending
The smudge tool with the round watery brush helps soften edges and enhance the natural flow of pigment.

