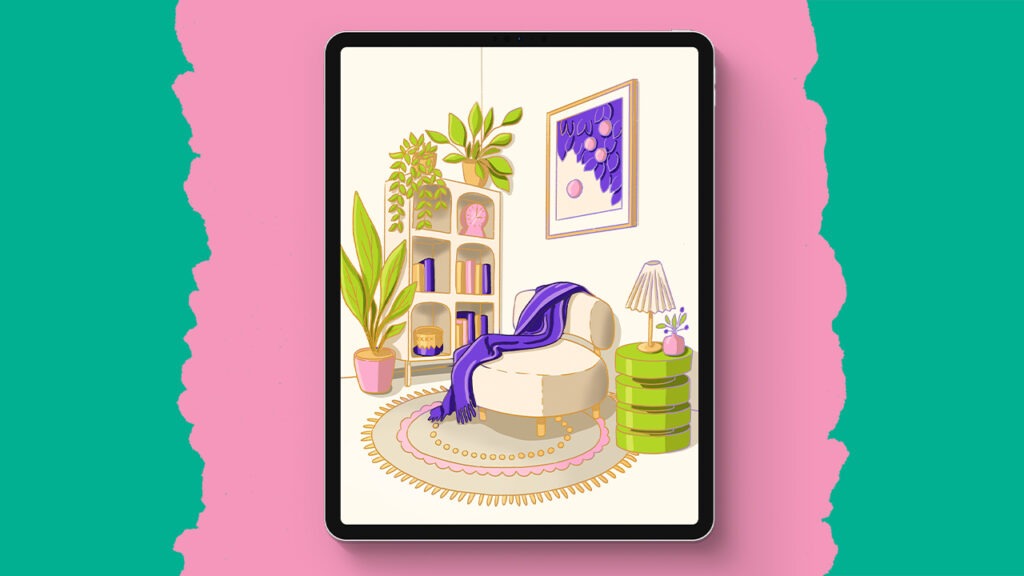
Sunny Room
In this tutorial, I’m going to walk you through every single step to create this cozy little room in Procreate. We’ll keep it nice and simple—learning all about perspective, layering, shading, and adding those fun little details that bring your drawing to life. I’ll explain everything in a calm and easy way so you can follow along and end up with something you’ll be really proud of. So grab your iPad, and let’s get started!
Brushes used:
- 6B Pencil
- Dry Ink
- Studio Pen
- Soft Brush
Canvas Size:
- 2300 x 3000 pixels
Skills Learned:
- Setting up and using a perspective grid
Learn how to activate Procreate’s perspective guide and drawing assist to ensure your lines follow accurate one-point perspective. - Creating layered compositions with clipping masks and blending modes
Master the use of multiple layers and clipping masks to organize your artwork logically and apply shadows and lighting non-destructively. - Sketching and refining with both geometric and organic shapes
Move from structured, perspective-based sketches to more fluid, organic details that bring life and character to your illustration. - Coloring with a cohesive palette and layering techniques
Apply a thoughtful color palette while using different layers for walls, furniture, and decor, ensuring everything is clean and easy to edit. - Adding depth with shadows and light effects
Use multiply layers for realistic shadows and the “add” blend mode for gentle, glowing light rays that enhance the scene’s atmosphere.