Neon Animal Art
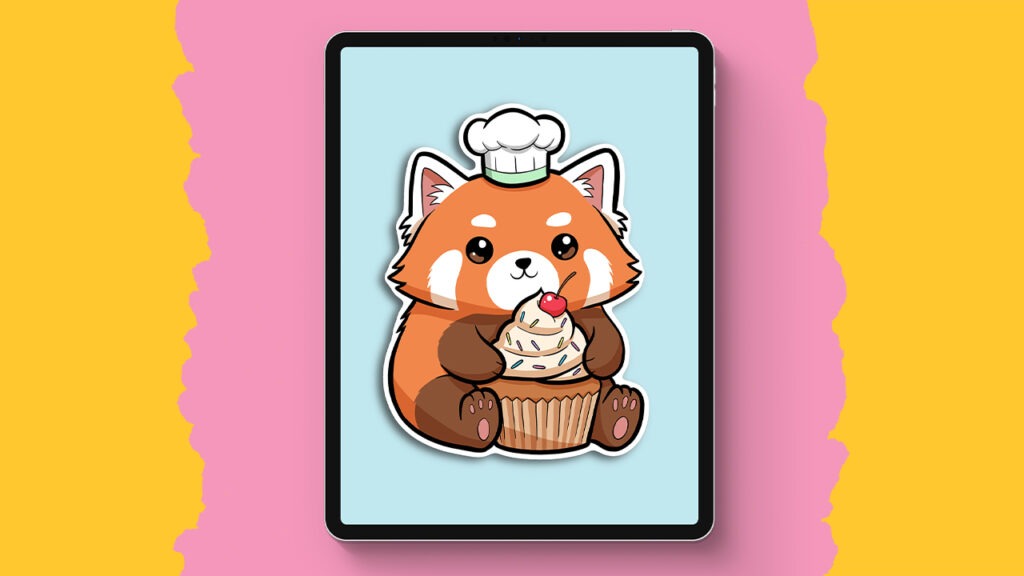
Bring your favorite animal to life with a bold neon twist in this easy step-by-step Procreate tutorial. Whether you’re drawing your own pet or using the provided cat photo, I will walk you through creating glowing line art with dynamic color and depth. I will show you exactly how to use layering, color blending, and effects to create striking neon art, even if you’re new to Procreate. You’ll finish with a glowing result that’s ready to share, and maybe even be inspired to try more animal designs.
Brushes used:
- Studio Pen
- Soft Brush
Canvas Size:
- 2300 x 3000 pixels
Skills Learned:
- Importing and preparing a reference photo
You learn how to import an image, resize or reposition it, lower its opacity, and prepare it for tracing. - Layered linework for stylized illustration
You trace major outlines using Studio Pen at varying sizes and opacities, switching brush size to emphasize shape and flow. - Alpha Lock & color blending for depth
By locking linework layers and applying gradients with the Soft Brush, you add dimensional neon color effects without straying outside the lines. - Creating a neon glow using blending modes and blur
You duplicate line layers, apply “Add” blend modes, and use Gaussian blur at different levels to create glowing, layered neon light. - Final bloom effect for polish
Using the Bloom feature adds an extra touch of radiant glow, enhancing the neon look and finalizing the artwork for sharing.
