Wooden Lightbox
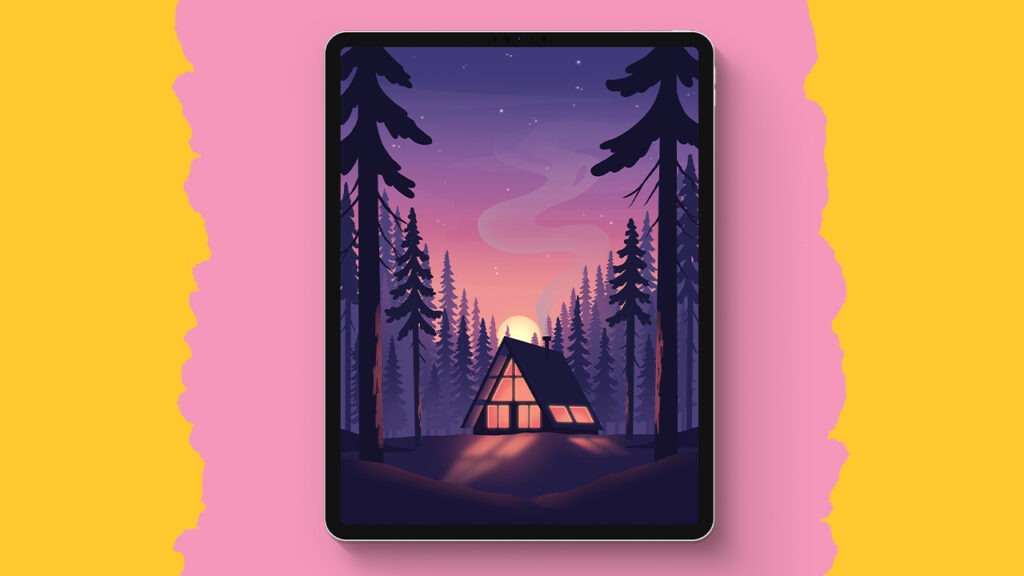
This tutorial walks you through creating a wooden lightbox illustration in Procreate, perfect for beginners with step-by-step guidance. Even if you’re new to Procreate or digital drawing, by the end of this tutorial, you’ll have a stunning piece you’ll be eager to share. The lightbox features a cozy scene with wobbly shapes, trees, houses, clouds, and a glowing moon, all beautifully crafted to look like layered wood. Follow along, and don’t forget to share your results on Instagram!
Brushes used:
- Script Brush
- Monoline Brush
- Soft Brush
Canvas Size:
- 3000 x 2300 pixels
Skills Learned:
- Creating Wobbly Shapes: Start by making random wobbly shapes for the lightbox’s base layer and adjust them using the Liquify tool for a more refined look
- Layering for Depth: Use multiple layers to build the scene, such as creating hills, trees, and houses, while utilizing layer masks to create cutouts and fine details
- Adding Textures: Apply a wood texture overlay to the entire canvas and use clipping masks to ensure the texture adapts to each individual layer, enhancing realism
- Lighting Effects: Implement light effects using Bloom and Add blending modes to simulate a glowing lightbox, adding depth and warmth to the scene
- Perspective Blur for Volume: Use Perspective Blur and Gaussian Blur on duplicated layers to create a sense of depth and shadow, making the wooden layers appear more three-dimensional

